 Save
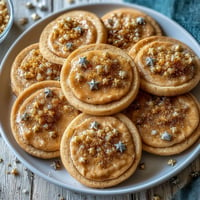
Save There's something about the week before St. Patrick's Day that makes my kitchen smell like butter and vanilla, even before I've started baking. My niece called me last March asking if I could make something green for her class party, and I found myself pulling out a shamrock cookie cutter I'd forgotten I owned. The whole process felt like magic—from rolling out that soft dough to watching the royal icing transform plain cookies into something that looked like they belonged in a bakery window.
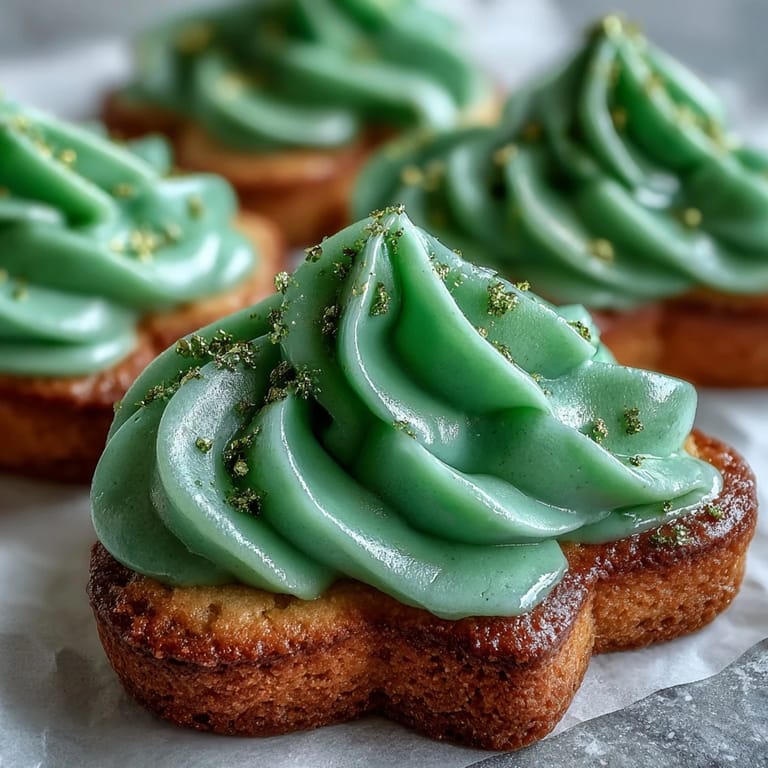
I remember standing at the kitchen island with my hands covered in green icing, laughing at how it looked like I'd been finger-painting while my partner sneaked a plain cookie when he thought I wasn't looking. By the time I'd decorated two dozen, my piping hand was sore but happy, and the countertop looked like a little edible garden of shamrocks. Those cookies disappeared within hours at the party, which felt like the greatest compliment I could ask for.
Ingredients
- All-purpose flour (2 1/2 cups): This is your foundation—make sure it's measured correctly by spooning and leveling, not scooping straight from the bag, or your dough will be dense.
- Baking powder (1/2 teaspoon): Just a touch to help the cookies spread evenly and bake with tender edges.
- Salt (1/4 teaspoon): The secret ingredient that makes butter taste like butter and brings out the vanilla.
- Unsalted butter (3/4 cup, softened): Room temperature is non-negotiable here; cold butter won't cream properly and your cookies will spread unevenly in the oven.
- Granulated sugar (1 cup): This creates structure and that satisfying snap when you bite into a cooled cookie.
- Egg (1 large): Your binding agent and the reason the dough holds together beautifully.
- Vanilla extract (2 teaspoons): Use real vanilla; it makes a noticeable difference in flavor.
- Almond extract (1/2 teaspoon, optional): This adds depth and a subtle sweetness that keeps people from pinpointing exactly what makes the cookie taste so good.
- Powdered sugar (3 cups, sifted): Lumps in icing are your enemy, so sifting takes thirty seconds and saves you from frustration.
- Egg whites or meringue powder: Choose meringue powder if you're concerned about raw eggs; it works just as well and sets up the same way.
- Green gel food coloring: Gel stays vibrant and doesn't thin out your icing the way liquid coloring does.
Tired of Takeout? 🥡
Get 10 meals you can make faster than delivery arrives. Seriously.
One email. No spam. Unsubscribe anytime.
Instructions
- Combine your dry ingredients:
- Whisk together the flour, baking powder, and salt in a medium bowl and set it aside. This early mixing distributes the leavening evenly so you don't end up with dense patches in your dough.
- Cream butter and sugar:
- Beat softened butter with sugar for 2 to 3 minutes until it looks pale and fluffy, like a cloud. This aerates the dough and is the reason these cookies have such a tender crumb.
- Add your wet ingredients:
- Mix in the egg, vanilla, and almond extract until everything is combined. Don't overmix or you'll overdevelop the gluten and end up with tough cookies.
- Bring it together:
- Gradually fold the dry ingredients into the wet mixture, stirring just until you don't see streaks of flour anymore. The dough should feel soft and cohesive.
- Chill the dough:
- Divide the dough in half, shape each into a disk, wrap tightly in plastic wrap, and refrigerate for at least an hour. Cold dough doesn't spread all over the pan and holds its shape through decorating.
- Prepare your workspace:
- Preheat the oven to 350°F and line your baking sheets with parchment paper. This step only takes a moment but saves you from scrambling when you're ready to bake.
- Roll and cut:
- Lightly flour your work surface and roll one dough disk to 1/4-inch thickness, then cut out shamrock shapes with your cookie cutter. Work gently so the edges stay clean.
- Bake until golden:
- Bake for 9 to 11 minutes—the cookies should look barely set with just the faintest golden edges. They'll firm up as they cool, so resist the urge to bake them darker.
- Cool with patience:
- Let cookies rest on the baking sheet for 5 minutes, then transfer to a wire rack to cool completely before you touch them with icing. Warm cookies will melt your royal icing right off.
- Make your royal icing:
- Beat powdered sugar, egg whites (or meringue powder mixed with water), and vanilla or lemon juice for about 5 minutes until the icing is glossy and holds stiff peaks. It should look like fluffy clouds.
- Tint with color:
- Divide your icing into bowls and add a few drops of green gel coloring, stirring until you reach the shade you want. Gel coloring is forgiving and lets you adjust gradually.
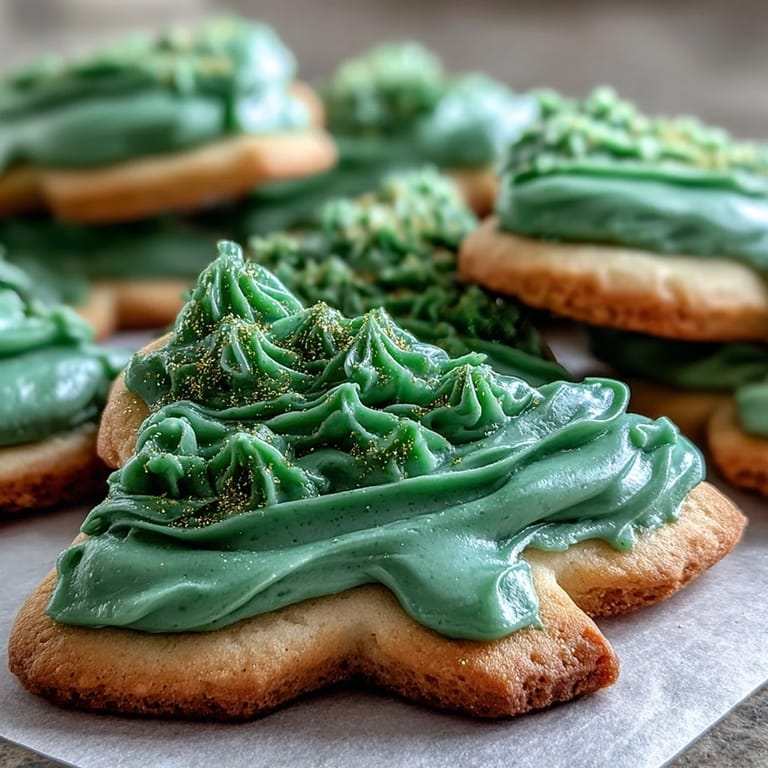
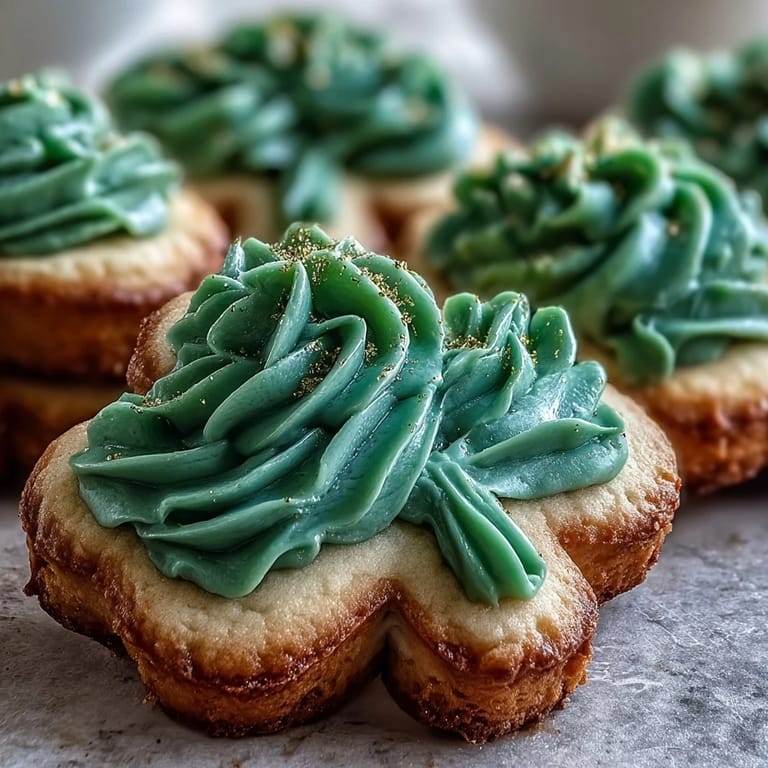
- Decorate and set:
- Transfer icing to piping bags with small round tips, outline each shamrock, then flood the center with thinner icing. Add sprinkles or glitter while it's still wet, then let everything set for at least an hour before packaging.
 Save
Save What I didn't expect was how making these cookies would become a quiet tradition in my house, something I find myself doing without being asked. There's something grounding about piping icing in tiny deliberate lines, and it's become my favorite way to slow down in the weeks when everything feels rushed.
The Secret to Smooth Royal Icing
The difference between icing that looks homemade and icing that looks professional comes down to sifting your powdered sugar and beating for the full five minutes. I learned this the hard way after my first batch looked grainy and dull, but once I started sifting, everything changed. The icing becomes glossy and smooth, and it spreads like silk across the cookies.
Storage and Make-Ahead Magic
You can bake these cookies up to three days ahead if you keep them in an airtight container at room temperature, which means you can spread out the decorating over a day or two without stress. The royal icing can also be made a day or two in advance and kept covered at room temperature; just give it a quick stir before you use it again. This flexibility is why these cookies work perfectly for party planning.
Creative Variations and Personal Touches
Once you've made these once, you'll start thinking of ways to make them your own, and that's exactly when they become special. Try adding a pinch of lemon zest to the dough for brightness, or use gold and white icing instead of green for an elegant look. Here are three quick ideas that have worked beautifully:
- Use both vanilla and lemon juice in the icing to give it a subtle brightness that makes people pause and wonder what that flavor is.
- Create an ombre effect by starting with pale green icing and gradually darkening it on each cookie for visual interest.
- Make a batch with edible glitter instead of sprinkles for something that catches the light and feels extra festive.
 Save
Save These cookies are the kind that bridge the gap between homemade and impressive, and that's a feeling worth chasing in the kitchen. Make them once and you'll find yourself wanting to make them again, maybe with slight tweaks, but always with the same joy.
Recipe Q&A
- → What gives the cookies their buttery texture?
Using softened unsalted butter creamed with sugar creates a tender, rich texture essential for these sugar cookies.
- → How is the royal icing made glossy and smooth?
Beating powdered sugar with egg whites (or meringue powder and water) until stiff peaks form results in a shiny, smooth icing perfect for decorating.
- → Can I prepare the icing ahead of time?
Yes, royal icing can be made up to two days in advance, kept covered at room temperature, and stirred before use.
- → Why chill the dough before baking?
Chilling firms the dough, preventing excessive spreading and ensuring defined shamrock shapes after baking.
- → Is it necessary to wait before icing the cookies?
Allow cookies to cool completely to room temperature to ensure the icing sets properly without melting.
- → What adds the subtle almond flavor?
A small amount of almond extract enhances the flavor but can be omitted for nut allergies without sacrificing texture.