 Save
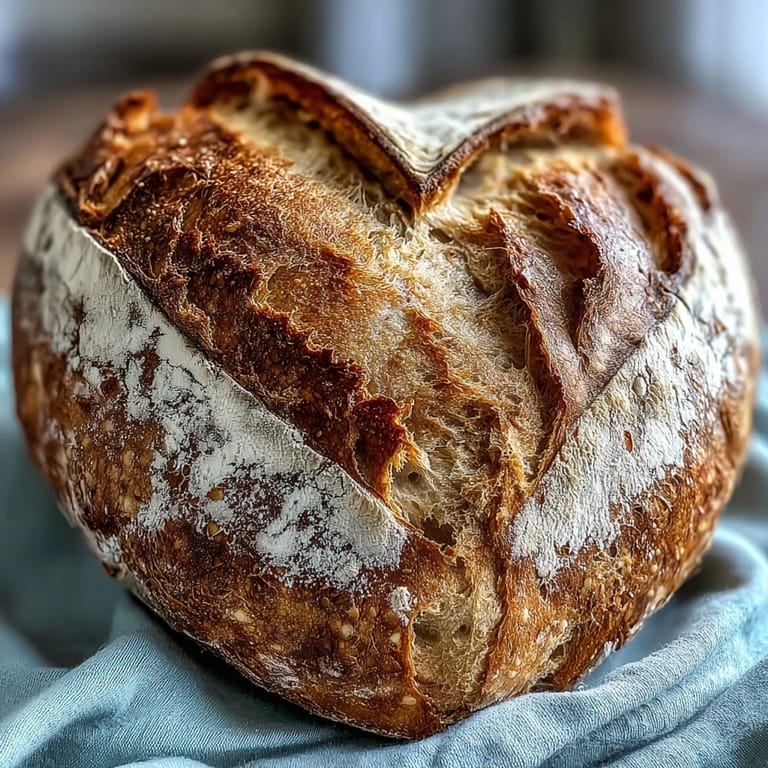
Save My friend texted me a photo of a heart-shaped sourdough she'd seen online, and something about it stuck with me through that entire gray February. When Valentine's Day rolled around, I decided to stop scrolling and actually make one, and what started as a Pinterest whim turned into the kind of kitchen project that fills your whole apartment with that warm, tangy sourdough smell. The dough felt alive in my hands during those stretch-and-folds, and by the time I scored those artistic patterns into the cold dough the next morning, I realized I wasn't just baking bread—I was creating something that said what flowers couldn't. Now whenever someone mentions sourdough, they ask if I'll make those heart loaves again.
I made these for a potluck on Valentine's Day, and watching someone's face light up when they realized the bread was shaped like a heart felt unexpectedly emotional. My neighbor, who usually just eats toast, asked for the recipe and actually kept the parchment paper I wrapped it in. That's when I knew this wasn't just about technique—it was about creating something thoughtful enough to remember.
Ingredients
- Active sourdough starter (100 g): This is your leavening agent and soul of the bread—it needs to be bubbly and at peak ripeness, ideally fed 4-8 hours before mixing, or your dough will be sluggish and disappointing.
- Bread flour (350 g): The high protein content gives you that chewy crumb structure and helps the dough hold its heart shape without collapsing during the long fermentation.
- Whole wheat flour (50 g): This adds nutty flavor and darkens the crumb slightly, plus it helps with water absorption so your dough stays workable and not sticky.
- Room temperature water (280 g): Cold water slows fermentation and makes the dough harder to work with, so let your water sit out while you feed your starter.
- Fine sea salt (8 g): Add this after the autolyse period, not before, or it will inhibit gluten development and leave you with weak dough that won't hold its shape.
- Rice flour for dusting: This doesn't hydrate like wheat flour, so it stays on the surface and creates those crisp, floury edges that make the scoring pattern pop visually.
- Optional edible flowers or seeds: Add these after baking while the crust is still slightly warm so they stick; they're purely for that final flourish that makes people pause before cutting into it.
Tired of Takeout? 🥡
Get 10 meals you can make faster than delivery arrives. Seriously.
One email. No spam. Unsubscribe anytime.
Instructions
- Mix and rest your dough:
- Combine your active starter, both flours, and water in a large bowl, stirring until there are no dry pockets—the dough will look shaggy and rough, which is exactly right. Let it sit covered with a damp towel for 30-45 minutes; this autolyse period lets the flour fully hydrate and makes the salt incorporation smoother.
- Incorporate salt and develop strength:
- Sprinkle the salt over your dough and mix it in thoroughly, then knead for a few minutes until the salt is fully incorporated. The dough will feel tighter and more cohesive, and you should be able to stretch a small piece thin without it immediately tearing.
- Build gluten through stretch-and-folds:
- Over the next 2-2.5 hours, perform 3-4 sets of stretch-and-folds spaced 30 minutes apart—grab one side of the dough, stretch it up and fold it over the center, rotate the bowl, and repeat until you've gone all the way around. Each set makes the dough noticeably stronger and smoother; by the final fold, it should feel like a pillow with real tension.
- First rise at room temperature:
- Shape the dough into a tight ball by pulling the sides underneath, then place it in a lightly oiled bowl and cover it. Let it rise for 4-6 hours at room temperature until it's clearly doubled in size—poke it gently, and it should spring back slowly but leave a slight indent.
- Shape into hearts:
- Turn the dough onto a lightly floured surface and divide it in half with a bench scraper. For each piece, gently flatten it into an oval, then pinch the base to form a sharp point and use your thumb or a finger to create a gentle indent down the center top—this is where the two lobes of the heart will puff during baking.
- Cold fermentation overnight:
- Place each heart-shaped dough into a floured proofing basket or a bowl lined with a heavily floured towel, seam-side up, cover tightly with plastic wrap, and refrigerate for 8-12 hours. The cold slows fermentation dramatically, developing deep sourdough flavor while making the dough easier to score and handle.
- Preheat and prepare for baking:
- At least 45 minutes before baking, preheat your oven to 240°C (465°F) with a Dutch oven or baking stone inside so it's screaming hot when your dough goes in. The thermal mass traps steam and creates that crackling crust you're after.
- Score with intention:
- Remove your cold dough from the fridge and invert it onto a piece of parchment paper, then dust it generously with rice flour. Using a sharp lame or razor blade held at a 45-degree angle, score artistic heart patterns—you might draw a simple outline of a heart, or create decorative lines that follow the natural curves of your loaf.
- Bake covered, then exposed:
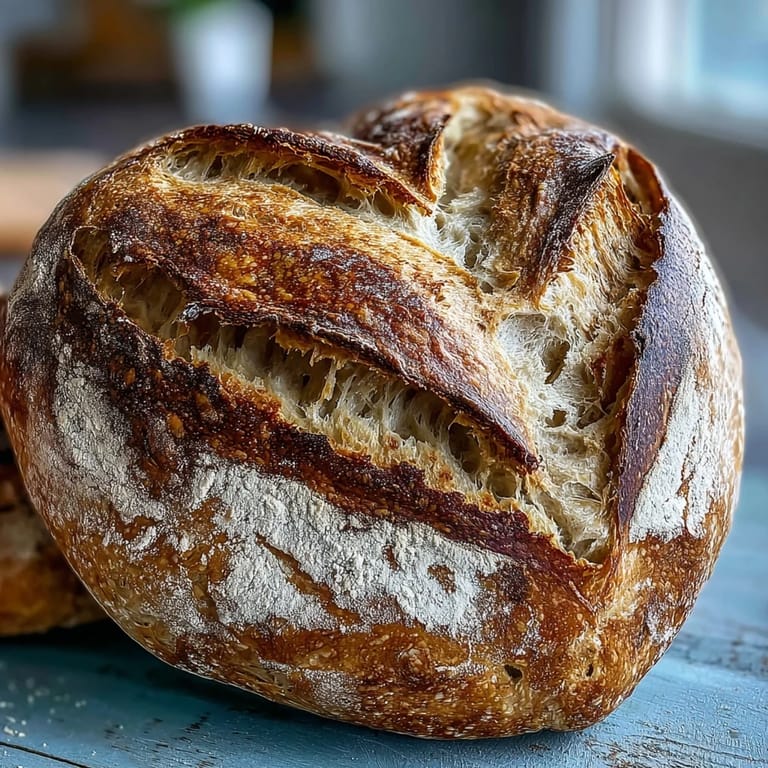
- Transfer your scored heart to the hot Dutch oven using the parchment as a helper, cover with the lid, and bake for 20 minutes to trap steam and keep the crust flexible. After 20 minutes, remove the lid and bake for another 15 minutes until the crust is deep golden-brown and sounds hollow when you tap the bottom.
- Cool completely before slicing:
- Let your heart-shaped loaves cool on a wire rack for at least an hour—this lets the interior set and makes slicing cleaner. Once cool, dust with edible flowers or seeds if you'd like that extra romantic touch.
 Save
Save There's a moment during the scoring when you pause and actually think about who this bread is for, and that slows you down enough to make the patterns intentional instead of just decorative. I realized then that baking bread for someone is its own kind of love language.
The Science of Shaping and Cold Fermentation
Sourdough's magic happens over time, not heat, and the overnight cold fermentation is where this bread transforms from basic dough into something with complexity. In the cold, fermentation slows dramatically, which means the wild yeast and bacteria keep working but at a pace that builds deeper, more developed flavors—think tangy, slightly funky, deeply satisfying. The cold dough is also firmer and easier to handle, which means your heart shape holds its integrity instead of softening and spreading the moment you invert it onto the parchment.
Creating Visually Stunning Scores
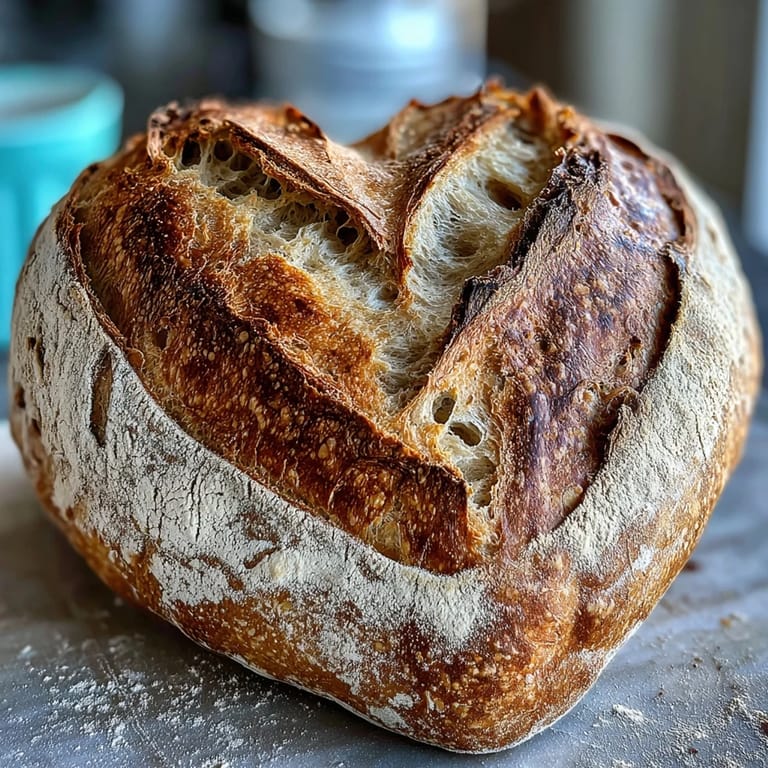
The scoring isn't just functional—it's the difference between a beautiful loaf and one that looks like an accident. A sharp blade held at a 45-degree angle glides through cold dough, leaving clean lines that open up and expand during the oven spring, creating those gorgeous ears and depth that photograph so well. The rice flour dusted on top acts like a canvas, catching light and making the scoring pattern visible instead of lost in a dark crust.
Variations and Personal Touches
Once you've mastered the basic heart, the fun is in the variations—add a teaspoon of beetroot powder to half your dough before shaping for a pink swirl that's subtle but undeniably romantic, or brush the finished loaf with an egg wash before baking if you want a glossier, more golden finish. You could also dust the warm baked loaves with powdered sugar for a sweeter presentation, or press edible flowers into the crust while it's still warm so they stay put.
- Beetroot powder creates a natural pink hue without dramatically changing the dough's hydration or fermentation time.
- Edible flowers should be pressed gently into the warm crust immediately after baking, not added before, so they don't burn or fall off.
- If you want to make these ahead, the cooled loaves actually stay fresher in the fridge for 3-4 days and taste even better sliced thick and toasted with good butter.
 Save
Save These heart-shaped loaves turn out to be about more than just technique—they're an excuse to slow down and create something thoughtful that says you cared enough to spend the time. Once you nail this, you'll find yourself making them not just for Valentine's Day, but whenever someone deserves something special.
Recipe Q&A
- → How do I shape the dough into heart shapes?
After the first rise, flatten each dough piece slightly, pinch the base to form a point, and gently indent the top center to create a heart shape.
- → What is the purpose of the cold proofing step?
Refrigerating the shaped dough overnight slows fermentation, enhances flavor complexity, and improves dough strength for better oven spring.
- → How can I create the artistic flour patterns on the crust?
Dust the dough surface with rice flour, then carefully score heart-themed patterns using a sharp blade before baking.
- → Can beetroot powder be used for coloring the dough?
Yes, kneading beetroot powder into half the dough before shaping adds a natural pink swirl for visual appeal.
- → What baking environment is recommended?
Bake covered in a preheated Dutch oven or on a baking stone to create steam and promote a crisp, golden crust.