 Save
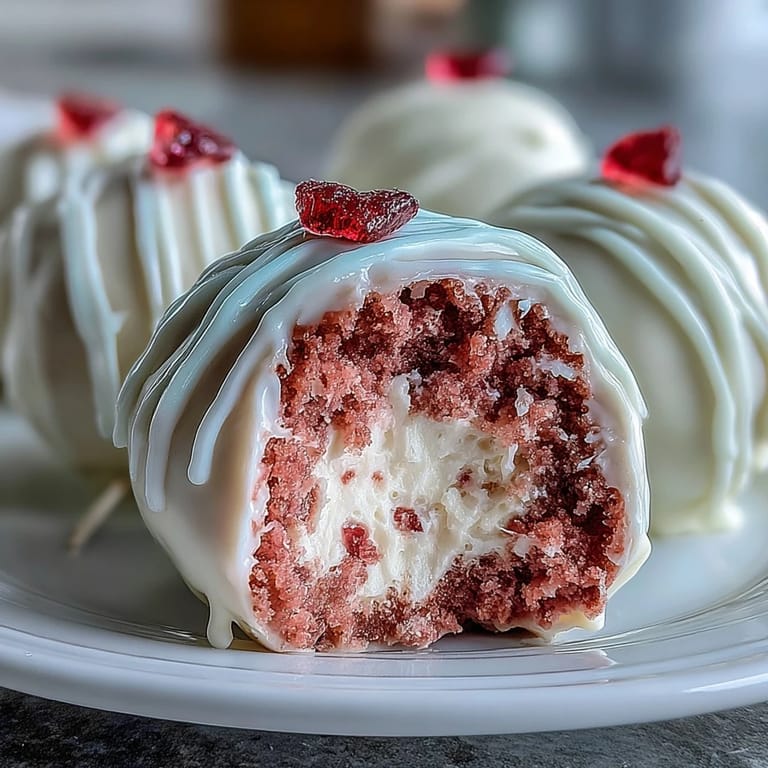
Save Last Valentine's Day, my coworker Sarah mentioned she'd never had a homemade cake pop, and something about that felt like a small injustice I could fix. I decided to attempt these pink velvet ones on a whim, mostly because I'd been curious about that tangy cream cheese frosting combination with white chocolate. The kitchen smelled like cocoa and butter for hours, and watching the pink color bloom through the batter felt like creating something genuinely special, not just another dessert. When I brought them to the office the next day, the way people's faces lit up made me realize this recipe was worth mastering.
I made these for my sister's Valentine's dinner party, and something magical happened when everyone gathered around the platter. One of her friends who usually skips dessert grabbed two, then later asked for the recipe. It wasn't the fanciest thing I'd ever brought, but it became the conversation starter, which honestly felt better than any compliment about the taste.
Ingredients
- All-purpose flour (1 1/4 cups): This is your structure, the thing that keeps these from being loose crumbs once you crumble the cake and mix it with frosting, so don't skip measuring it properly.
- Granulated sugar (1 cup): Standard sweetness, but it also helps carry that pink coloring evenly through the batter.
- Unsweetened cocoa powder (1/4 cup): This gives the subtle richness that makes people guess there's something complex happening, even though it's not overwhelming.
- Baking soda (1/2 tsp) and salt (1/4 tsp): These wake up the cocoa flavor and balance everything so nothing tastes flat.
- Buttermilk (1/2 cup): Room temperature is key here because cold buttermilk can seize up your batter, and you want everything mixing smoothly.
- Unsalted butter (1/2 cup plus 2 tbsp): Softened butter creams properly, which means your cake has the right tender crumb for turning into poppable bites.
- Large eggs (2): Room temperature eggs incorporate better, creating a more cohesive batter that bakes evenly.
- Vanilla extract and white vinegar (1 tsp each): The vinegar reacts with baking soda to create lift, and vanilla ties everything together.
- Pink gel food coloring (1 to 2 tsp): Gel coloring is more concentrated than liquid, so you get that gorgeous pink without watering down your batter.
- Cream cheese (4 oz): Softened and beaten until fluffy, this is where the tanginess comes from that makes people pause and say "what is that flavor?"
- Powdered sugar (1 1/2 cups): Sifted first so you don't end up with grainy frosting or lumps.
- White chocolate or candy melts (12 oz): Candy melts are more forgiving than real chocolate because they don't require tempering, but use what feels comfortable to you.
- Cake pop sticks, sprinkles, and optional decorations: These are the finishing touches that make them feel intentional and festive.
Tired of Takeout? 🥡
Get 10 meals you can make faster than delivery arrives. Seriously.
One email. No spam. Unsubscribe anytime.
Instructions
- Set up your baking space:
- Preheat your oven to 350°F and grease an 8-inch square pan with butter or cooking spray, then line it with parchment paper so the cooled cake lifts out cleanly. This small step saves frustration later.
- Build your dry blend:
- In a medium bowl, whisk together the flour, sugar, cocoa powder, baking soda, and salt, making sure the cocoa powder doesn't have any lumps hiding in there. This creates an even foundation so the pink color distributes uniformly.
- Cream your butter and eggs:
- Beat softened butter until it's pale and fluffy, then add eggs one at a time, letting each one incorporate fully before adding the next. Stir in your vanilla and vinegar, which will smell a little sharp but trust the process.
- Marry wet and dry together:
- Alternate adding the dry mixture and buttermilk in batches, starting and ending with dry, mixing gently until just combined. Overmixing at this point makes the cake tough, and you want it tender for crumbling later.
- Add your pink hue:
- Squeeze in your pink gel coloring and mix until the batter is evenly tinted, going darker if you prefer a more vivid shade. You'll be amazed how a little coloring transforms the whole vibe.
- Bake until just done:
- Pour into your prepared pan and bake for 22 to 25 minutes, testing with a toothpick for just a few moist crumbs clinging to it. The second it comes out clean, you're done—a minute longer and it starts drying out.
- Prepare your frosting:
- Beat cream cheese and softened butter together until completely smooth, then gradually add your sifted powdered sugar and vanilla, beating until fluffy and lightened in color. This frosting is the soul of the cake pop.
- Combine cake and frosting:
- Once the cake is completely cool, crumble it into a large bowl and fold in the frosting until the mixture just barely holds together when you press it. You're not looking for smooth dough, just cohesive enough to roll.
- Roll into balls:
- Form the mixture into about 24 balls roughly the size of a walnut, trying to keep them somewhat uniform so they bake evenly when dipped. Place them on a parchment-lined baking sheet and chill for 30 minutes so they firm up.
- Melt your chocolate carefully:
- In a microwave-safe bowl, melt your white chocolate or candy melts in 20-second bursts, stirring between each one so nothing scorches. This patience saves you from grainy, broken coating.
- Secure the sticks:
- Dip the tip of each stick into the melted chocolate, then gently insert it about halfway into a chilled ball, holding it for a moment so it sets. Chill again for 10 minutes so the stick won't spin when you dip.
- Coat and decorate:
- Dip each pop into the melted chocolate with a gentle twist, tapping off the excess on the side of the bowl, then immediately add sprinkles or candies while it's still wet. The coating sets quickly, so you've got maybe 20 seconds to dress it up.
- Let them set:
- Stand each pop upright in a styrofoam block or pop stand and let them sit undisturbed until the coating is fully hardened. This is when the magic of the shape actually comes into focus.
 Save
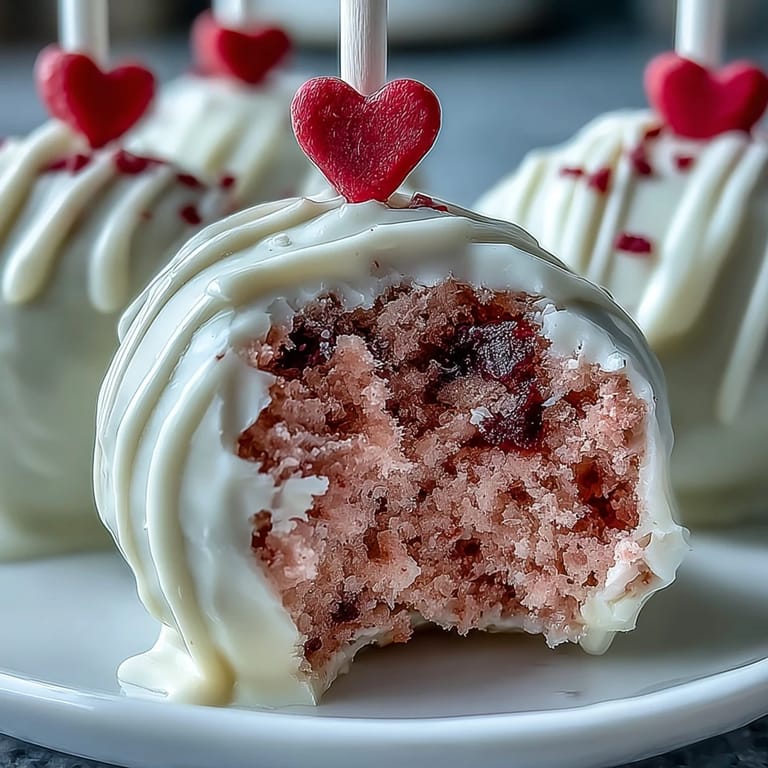
Save The moment someone bites into one of these and their eyes go wide because of that unexpected tangy frosting, you realize food is really just a vehicle for small moments of joy. It's why I keep making them.
Why These Feel Special
Cake pops have this thing where they seem like you've got your life together in the kitchen, but honestly, they're just cake and frosting rolled into balls and dipped in chocolate. What makes them feel special is that they're individual, handheld, and someone has to slow down to enjoy them instead of just cutting a slice and moving on. The pink velvet version adds color and that subtle cocoa note that keeps them from tasting like pure sugar, which somehow makes people take them more seriously.
Storing and Gifting These
I've learned that these actually get better after a day because the frosting and coating continue to set and fuse, making them more stable to handle. Keep them in an airtight container in the fridge, and they'll hold up beautifully for five days, though I'd be surprised if they lasted that long once people know about them. For gifting, I pile them in a small box lined with tissue paper or arrange them in a mini cake pop stand if I really want to impress someone.
Troubleshooting and Tweaks
The most common issue I see is cake pops falling off their sticks, which happens when the stick wasn't inserted far enough or the initial chocolate seal wasn't thick enough. If your pops look pale, you might be dipping them too quickly before the coating has time to stick, or your chocolate might be too hot. If the filling tastes too sweet, you can always add a pinch more cream cheese next time to tip the balance toward tangy, or try a dark chocolate or strawberry coating to contrast the sweetness.
- If you want a brighter pink, add a little more gel coloring, but do it in tiny increments because a little goes a long way.
- You can skip the white chocolate entirely and dip in dark chocolate or even strawberry-flavored candy melts if that sounds better to you.
- Make sure your styrofoam block or pop stand is sturdy enough that the pops don't tip over as they're setting, or they'll dry lopsided.
 Save
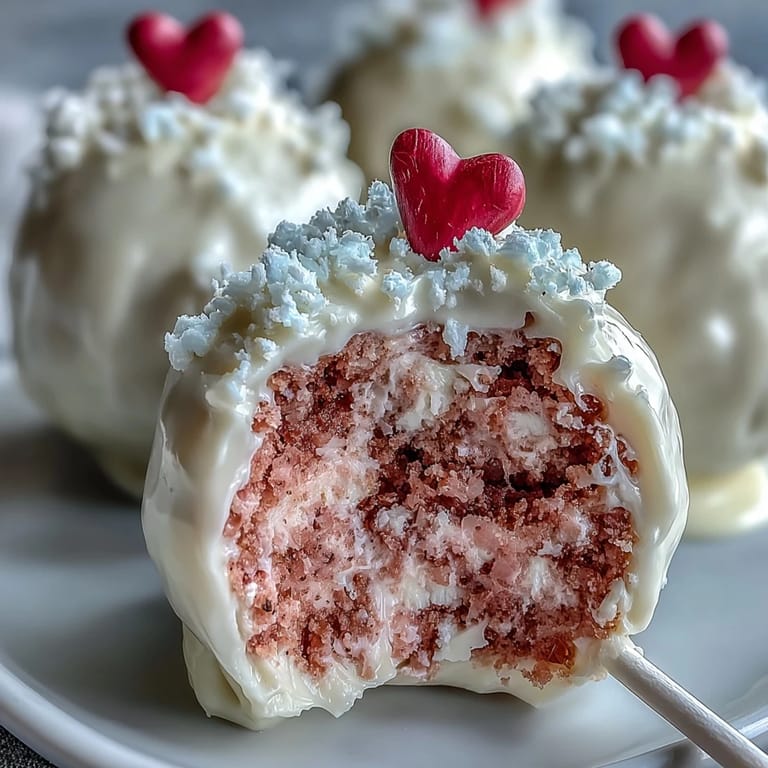
Save These cake pops are proof that sometimes the simplest gestures matter more than the most complicated recipes. Make them when you want to say something without saying it out loud.
Recipe Q&A
- → How do I achieve the vibrant pink color?
Use 1–2 teaspoons of pink gel food coloring added to the batter until the desired shade is reached.
- → Can I use a different coating instead of white chocolate?
Yes, dark chocolate or flavored candy melts like strawberry can be used for variety.
- → What is the best way to ensure the cake pops hold their shape?
Mix the crumbled cake with cream cheese frosting until the mixture is firm enough to roll, then chill before dipping.
- → How should the cake pops be stored after making them?
Store in an airtight container in the refrigerator for up to five days to maintain freshness.
- → Are there any common allergens in these cake pops?
Yes, they contain wheat, eggs, and dairy; candy melts may also contain soy.