 Save
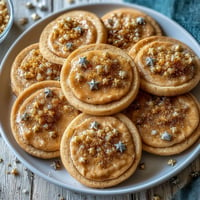
Save There was this deadline I was racing to meet last winter, my apartment freezing because I'd forgotten to pay the heating bill, and I needed something warm and sweet to trick my brain into thinking everything was fine. I stumbled onto mug pancakes through sheer desperation and now they are my go-to comfort whenever life feels a little too fast.
My roommate caught me making these at 2 AM during finals week and now it is sort of our thing. The microwave beep has become a signal that someone needs a little comfort.
Ingredients
- 4 tbsp all-purpose flour: The foundation, though Ive used whole wheat in a pinch and it still works
- 1/2 tsp baking powder: This tiny amount is what makes it puff up into something resembling a real pancake
- 1 tbsp granulated sugar: Just enough sweetness to feel indulgent without being dessert
- Pinch of salt: Balances everything and keeps it from tasting like cardboard
- 3 tbsp milk: Any milk works, dairy or plant-based
- 1 tbsp melted unsalted butter: Adds richness and helps grease the mug so nothing sticks
- 1/4 tsp vanilla extract: Makes it taste like you put way more effort into this than you did
- Optional add-ins: Mini chocolate chips or blueberries because sometimes you need the extra joy
Tired of Takeout? 🥡
Get 10 meals you can make faster than delivery arrives. Seriously.
One email. No spam. Unsubscribe anytime.
Instructions
- Prep your mug:
- Lightly grease a large microwave-safe mug with melted butter, getting the sides too so the pancake can rise without sticking
- Combine the dry ingredients:
- In the mug itself, mix flour, baking powder, sugar, and salt until well combined
- Add the wet ingredients:
- Pour in milk, melted butter, and vanilla, stirring until just combined with no visible flour streaks
- Add your extras:
- Gently fold in chocolate chips or blueberries if you are using them
- Microwave:
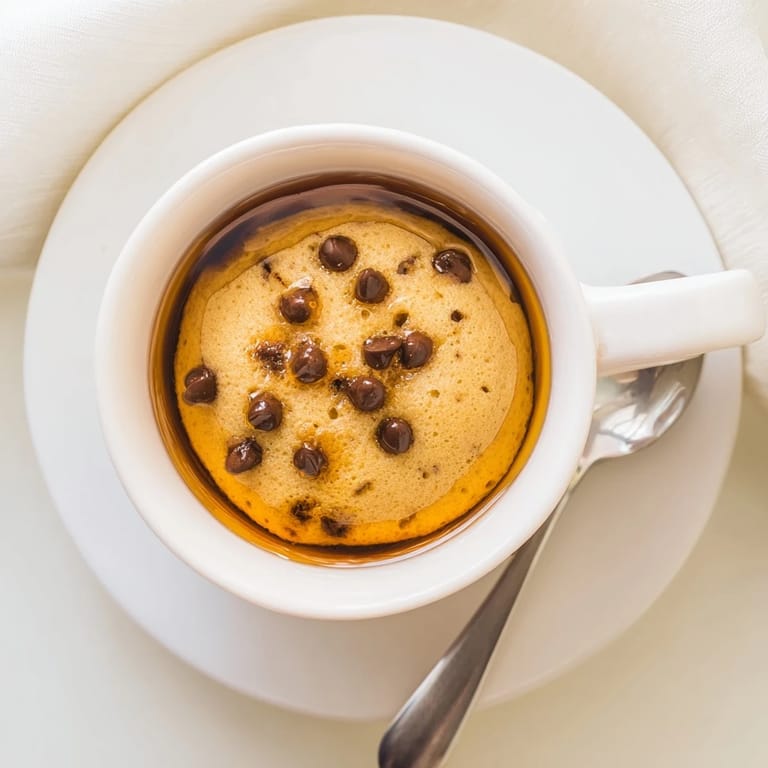
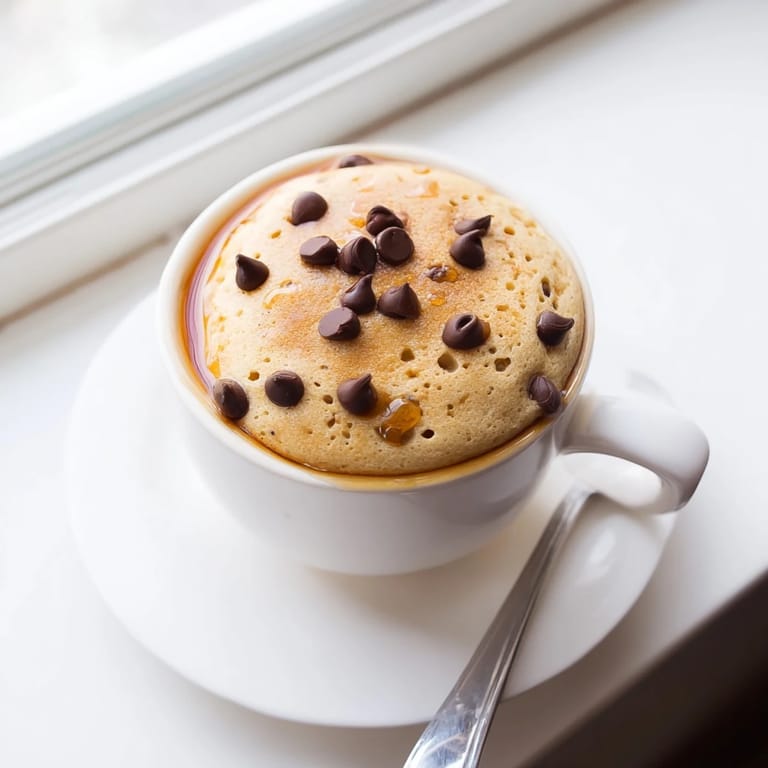
- Cook on high for 90 seconds, watching it rise dramatically before setting
- Rest and serve:
- Let it cool for 1 minute so it sets properly, then top with maple syrup or fresh fruit
 Save
Save Last month my niece asked for pancakes and I was not about to drag out the griddle. She was so impressed by the magic of the microwave that she now asks for the special pancakes whenever she visits.
Making It Your Own
I have played with this base more times than I can count. A pinch of cinnamon transforms it completely, and swapping half the flour for cocoa powder makes it feel like a dessert pancake.
Timing Matters
The minute wait after microwaving is not optional. I learned this the hard way when I burned my tongue on what seemed like a innocent breakfast treat. It also helps the texture settle from spongey to pancake-like.
Serving Ideas
Sometimes I top it with peanut butter and banana slices when I need something more substantial. Other times a dollop of yogurt and fresh berries feels more like proper breakfast.
- A pat of butter on top melts into all the little crevices
- Nutella works if you are feeling particularly indulgent
- Powdered sugar makes it look fancy with zero effort
 Save
Save There is something deeply comforting about having a proper pancake experience in under five minutes, especially when the world feels like it is moving too fast.
Recipe Q&A
- → Can I make this without a microwave?
This is specifically designed for microwave cooking. For stovetop pancakes, use a traditional pancake batter and cook in a skillet instead.
- → Why is my mug pancake rubbery?
Overcooking or overmixing the batter causes rubbery texture. Microwave for just 90 seconds and stir until barely combined, leaving some small lumps.
- → What size mug should I use?
Use a large microwave-safe mug with at least 12 oz capacity. The batter rises significantly during cooking and needs room to expand without overflowing.
- → Can I double this for two servings?
Make two separate mugs rather than doubling in one. Doubled batter won't cook evenly in the microwave and may overflow or remain raw in the center.
- → How do I make this dairy-free?
Substitute the milk with almond, oat, or soy milk, and replace melted butter with coconut oil or vegetable oil for a dairy-free version.
- → Can I prepare the dry ingredients ahead?
Yes, mix flour, baking powder, sugar, and salt in advance and store in an airtight container. Add wet ingredients when ready to cook.